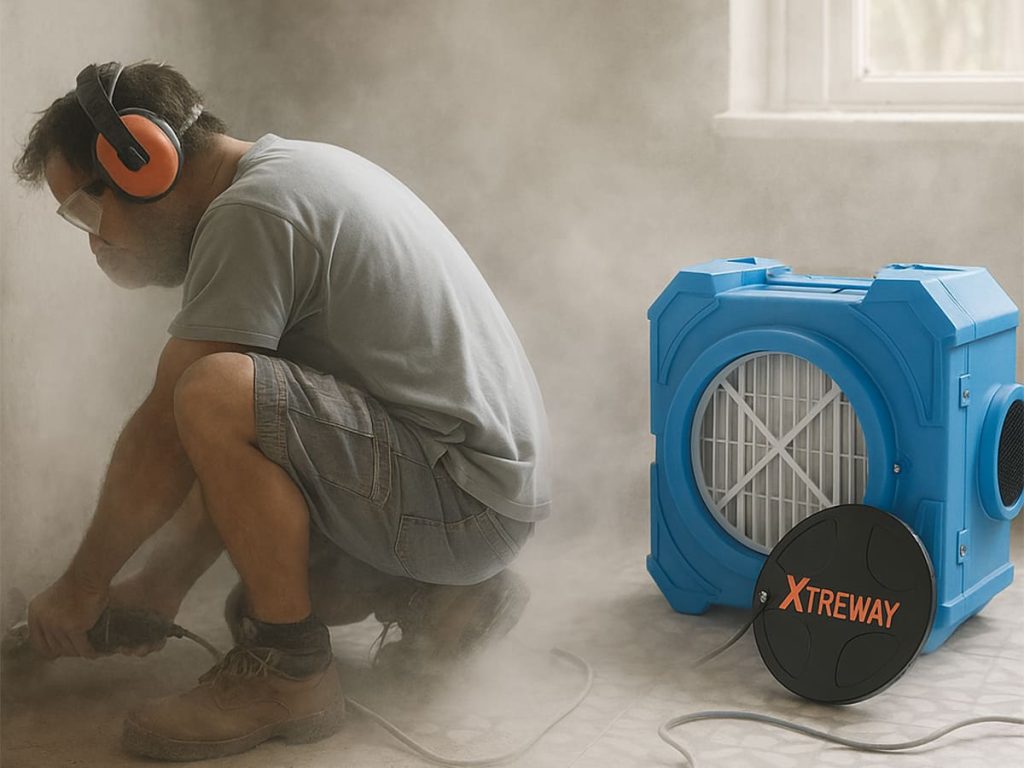
How to Use an Air Scrubber for Water Damage Restoration
Introduction
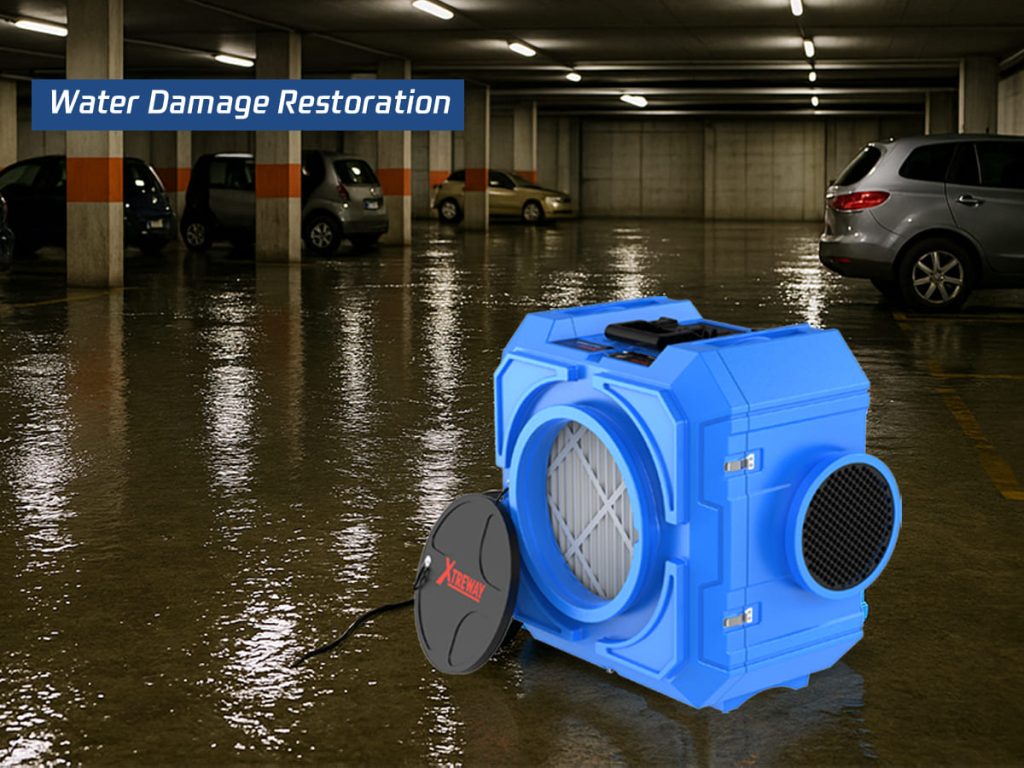
Water damage doesn’t just ruin structures—it also contaminates the air. Moisture leads to mold growth, bacteria, and lingering odors, making air scrubbers a critical tool in restoration. This guide covers how to properly use an air scrubber to restore air quality after water damage.
Why Air Scrubbers Are Essential in Water Damage Restoration
Measure humidity levels with a hygrometer (ideal: below 60%).
2. Choose the Right Air Scrubber
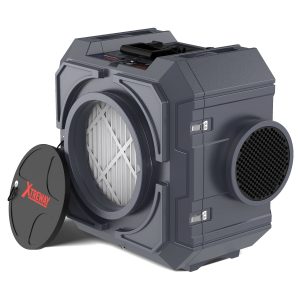
HEPA filters – Capture 99.97% of mold spores.
Activated carbon filters – Remove odors from sewage or chemicals.
High CFM (Cubic Feet per Minute) rating – At least 200–500 CFM per 1,000 sq. ft.
3. Position the Air Scrubber Correctly
Place near the water source (e.g., flooded basement, leaky ceiling).
Angle toward walls to prevent mold spread.
Elevate if standing water is present.
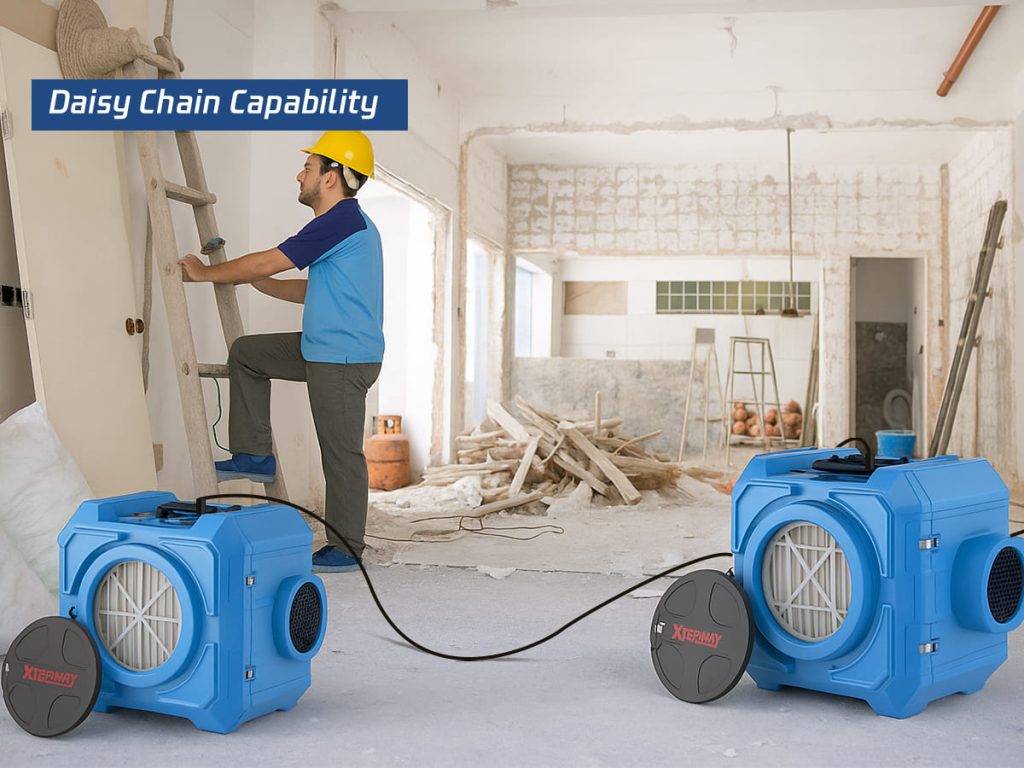
4. Run Continuously for 24–48 Hours
Keep running even after visible drying to capture lingering spores.
Pair with dehumidifiers for faster moisture removal.
5. Monitor and Replace Filters
Check filters daily in heavy contamination.
Replace HEPA filters if airflow decreases.
Pro Tips for Best Results
✔ Use negative air pressure (exhaust air outside) in severe mold cases.
✔ Combine with antimicrobial sprays for deeper mold prevention.
✔ Wear PPE (mask, gloves, goggles) when handling contaminated areas.
Conclusion
Air scrubbers are non-negotiable in water damage restoration. By filtering mold, odors, and bacteria, they ensure a safer, faster recovery for any property.